안드로이드 세팅에 보면 글자 크기를 조정할 수 있는 메뉴가 존재합니다.
내가 화면의 글씨를 크게 보길 원한다면 전체 글자를 키우거나, 작게 만들 수 있습니다.
방법이야 여러가지가 있겠지만 Multi Theme를 이용하여 기초적인 글자 크기를 동적으로 바꾸도록 해 보겠습니다.
MainActivity XML 준비
먼저 기본 안드로이드 project를 생성했습니다.
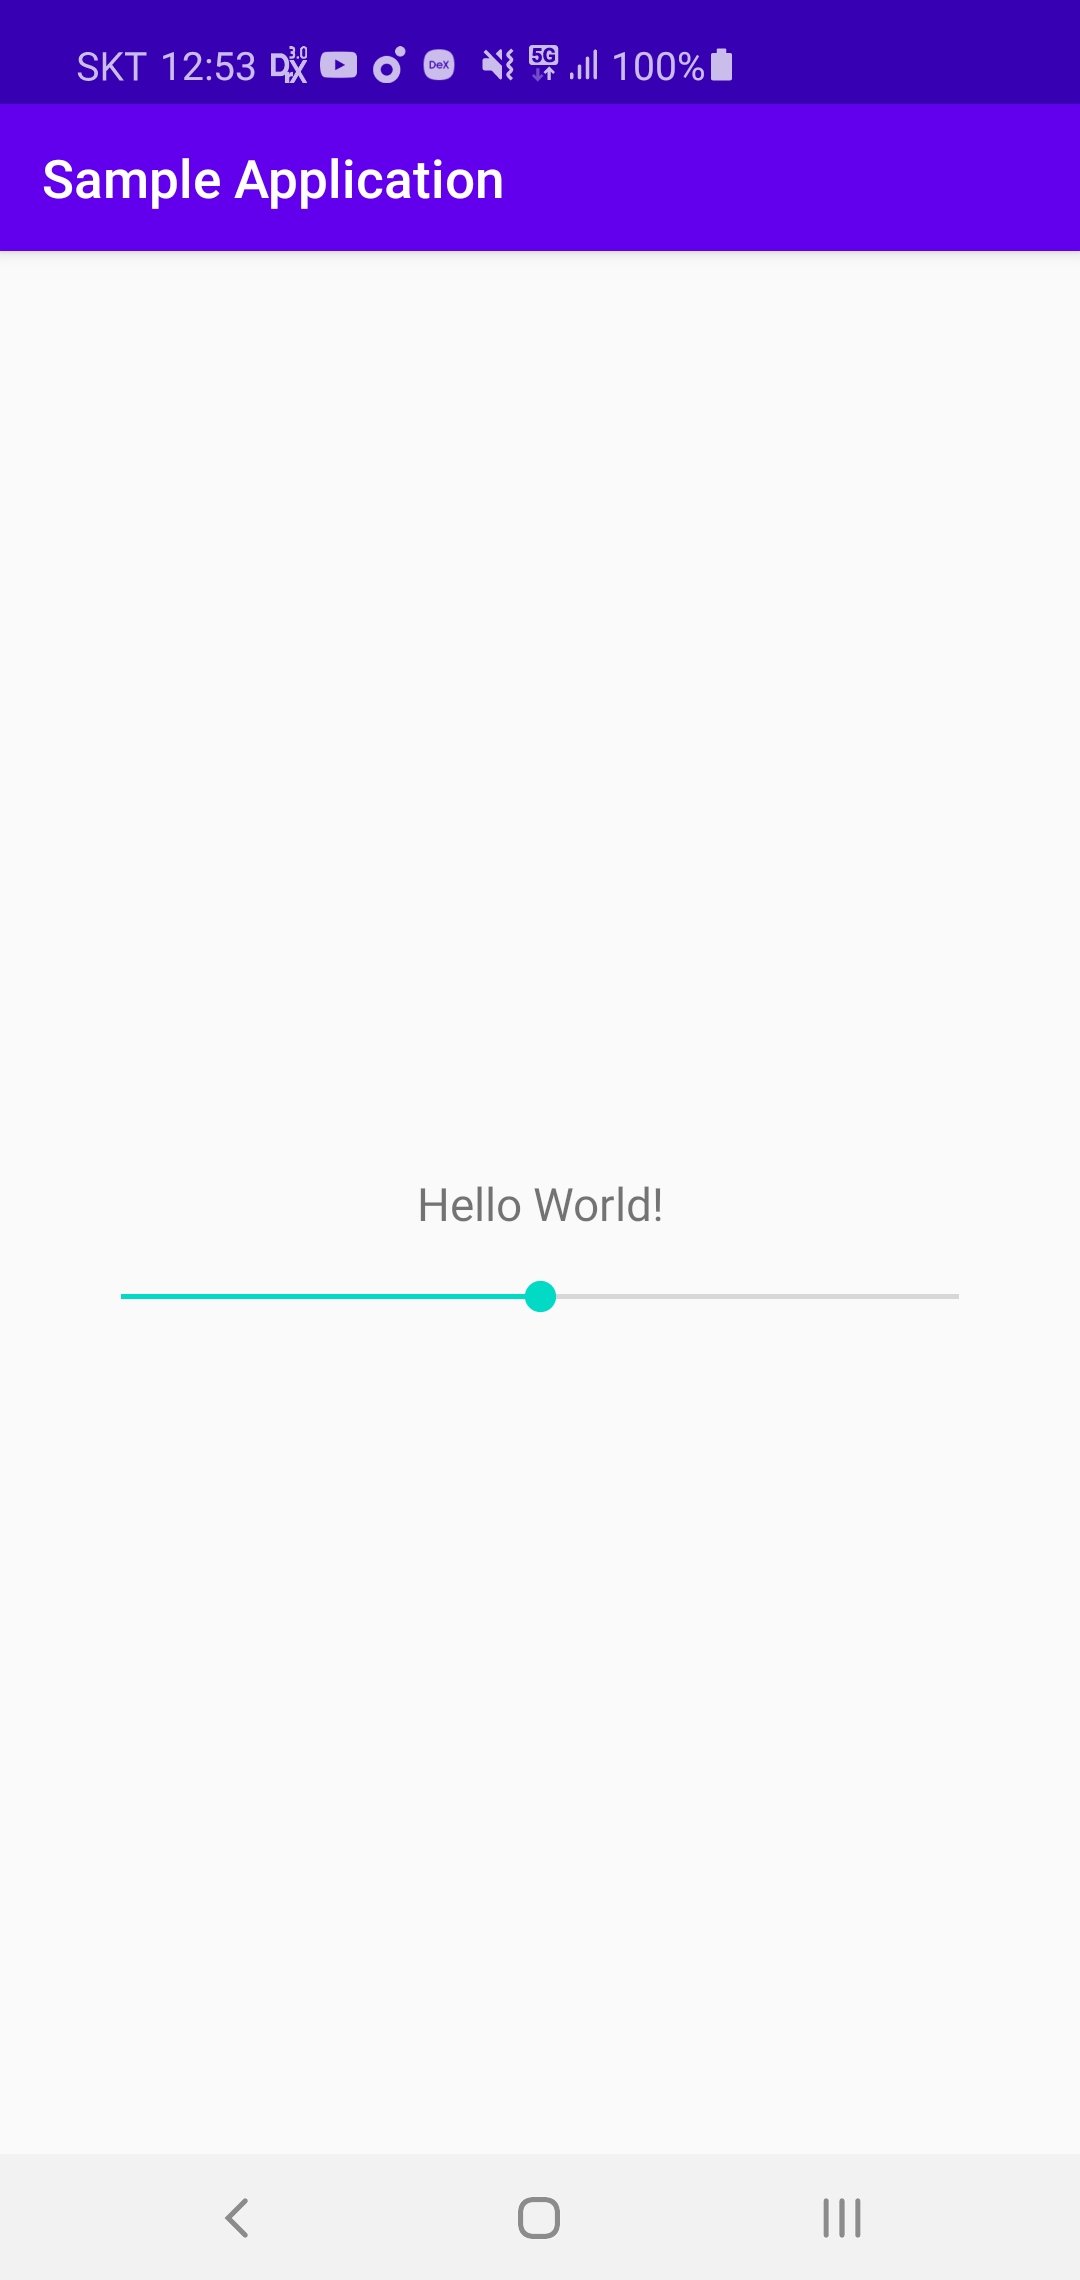
첫 화면 기본 Hello World 문구에 SeekBar를 하나 추가합니다.

<?xml version="1.0" encoding="utf-8"?>
<androidx.constraintlayout.widget.ConstraintLayout xmlns:android="http://schemas.android.com/apk/res/android"
    xmlns:app="http://schemas.android.com/apk/res-auto"
    xmlns:tools="http://schemas.android.com/tools"
    android:layout_width="match_parent"
    android:layout_height="match_parent"
    tools:context=".MainActivity">

    <TextView
        android:id="@+id/main_text"
        android:layout_width="wrap_content"
        android:layout_height="wrap_content"
        android:text="Hello World!"
        app:layout_constraintBottom_toBottomOf="parent"
        app:layout_constraintLeft_toLeftOf="parent"
        app:layout_constraintRight_toRightOf="parent"
        app:layout_constraintTop_toTopOf="parent" />

    <androidx.appcompat.widget.AppCompatSeekBar
        android:id="@+id/textsize_seekbar"
        android:layout_width="match_parent"
        android:layout_height="wrap_content"
        android:layout_marginTop="15dp"
        android:layout_marginStart="30dp"
        android:layout_marginEnd="30dp"
        android:max="2"
        android:progress="1"
        app:layout_constraintEnd_toEndOf="parent"
        app:layout_constraintStart_toStartOf="parent"
        app:layout_constraintTop_toBottomOf="@+id/main_text" />

</androidx.constraintlayout.widget.ConstraintLayout>
activity_main.xml 파일은 위와 같습니다.
SeekBar는 0, 1, 2 세 단계로 조정 가능하면 초기값은 일단 중간값인 1로 놓았습니다.
화면에서 보듯이 SeekBar를 조절 할 때마다 글자 크기가 변경되도록 하려고 합니다.
추가 XML을 정의
위 TextView에는 TextSize 항목이 없습니다.
TextSize를 동적으로 바꿔야 하기 때문에 고정값이 아닌 변수가 필요합니다.
따라서 XML상에서의 변수로 사용 할 attribute를 정의합니다.
<resources>
    <attr name="mainTextSize" format="reference"/>
</resources>
res/values/attrs.xml 파일을 만들어 위와 같이 속성을 하나 정의합니다.
이제 이 속성을 TextView에 넣어줍니다.
<TextView
    android:id="@+id/main_text"
    ...
    android:text="Hello World!"
    android:textSize="?attr/mainTextSize"
    app:layout_constraintBottom_toBottomOf="parent"
    ...
    />
이제 attr의 값을 넣어줄 theme를 만듭니다.
세 단계로 글자 크기를 변경해야 하므로 아래와 같이 Small, Medium, Large 세 개의 theme를 정의합니다.
<resources>
    <style name="Theme.App.Small" parent="AppTheme">
        <item name="mainTextSize">@dimen/main_text_size_0</item>
    </style>

    <style name="Theme.App.Medium" parent="AppTheme">
        <item name="mainTextSize">@dimen/main_text_size_1</item>
    </style>

    <style name="Theme.App.Large" parent="AppTheme">
        <item name="mainTextSize">@dimen/main_text_size_2</item>
    </style>
</resources>
res/values/theme.xml 파일을 만들어 위와 같이 값을 넣습니다.
그리고 속성값으로 직접 값을 넣을 수 없기 때문에 실제 text의 크기로 사용할 수치는 dimens.xml에 넣겠습니다.
<resources>
    <dimen name="main_text_size_0">12sp</dimen>
    <dimen name="main_text_size_1">16sp</dimen>
    <dimen name="main_text_size_2">20sp</dimen>
</resources>
res/values/dimens.xml 에는 위와 같이 실제 들어갈 단계별 사이즈를 정의합니다.
이제 xml의 준비는 끝났습니다.
코드에서 동적으로 theme를 교체하면서 text를 뷰의 크기를 조정해 보겠습니다.
SharedPreferce
seekbar의 값을 변경할 때마다 listener로 받아 사용해도 되지만 theme를 동적으로 변경하려면 recreate()를 해야 합니다. 말 그대로 onCrate()부터 다시 타기 때문에 seekbar의 값을 멤버 변수나 기타 변수에 저장할 수 없습니다.
seekBar의 값을 저장할 SharedPreference를 하나 만듭니다.
class DefaultPreferenceManager(private val context: Context) {
    companion object {
        private const val WORD_TEXT_SIZE = "text_size"
    }
    private val sharedPreference = PreferenceManager.getDefaultSharedPreferences(context)
    private val editor = sharedPreference.edit()

    fun setTextSize(size: Int) {
        editor.putInt(WORD_TEXT_SIZE, size).commit()
    }

    fun getTextSize() = sharedPreference.getInt(WORD_TEXT_SIZE, 1) //기본값은 중간이다.
}
MainActivity
이제 Theme를 교체하는 코드를 넣어 봅니다.
class MainActivity : AppCompatActivity() {
    companion object {
        private const val TAG = "MainActivity"
    }

    private lateinit var viewBinding: ActivityMainBinding
    private var currentTheme = R.style.Theme_App_Medium
    private lateinit var pref: DefaultPreferenceManager


    override fun onCreate(savedInstanceState: Bundle?) {
        super.onCreate(savedInstanceState)
        pref = DefaultPreferenceManager(this)

        val textSize = pref.getTextSize()
        currentTheme = getAppTheme(textSize)
        setTheme(currentTheme)

        viewBinding = ActivityMainBinding.inflate(layoutInflater)
        setContentView(viewBinding.root)

        initView()
    }

    private fun initView() {
       ...
    }

    private fun getAppTheme(textSize: Int) =
            when (textSize) {
                0 -> R.style.Theme_App_Small
                1 -> R.style.Theme_App_Medium
                2 -> R.style.Theme_App_Large
                else -> R.style.Theme_App_Medium
            }
기본적인 구성을 완료합니다.
onCreate()에서 preference의 text 값을 읽어 행단 되는 theme resource 파일을 set해 줍니다.
이때 setTheme()를 사용합니다.
class MainActivity : AppCompatActivity() {
   ...


    override fun onCreate(savedInstanceState: Bundle?) {
       ...
    }

    private fun initView() {
        viewBinding.textsizeSeekbar.progress =  pref.getTextSize()
        viewBinding.textsizeSeekbar.setOnSeekBarChangeListener(object : SeekBar.OnSeekBarChangeListener {
            override fun onProgressChanged(seekBar: SeekBar, progress: Int, fromUser: Boolean) {
                //do nothing
            }

            override fun onStartTrackingTouch(seekBar: SeekBar) {
                //do nothing
            }

            override fun onStopTrackingTouch(seekBar: SeekBar) {
                pref.setTextSize(seekBar.progress)
                if (currentTheme != getAppTheme(seekBar.progress)) {
                    recreate()
                }
            }
        })
    }

    private fun getAppTheme(textSize: Int) =
            ...
이번엔 initView를 구성합니다.
preference에 읽은 갑을 seekbar에 setting해주고 listener를 붙입니다.
listener를 통해서 seekbar의 값이 변경되면 preference에 써주고 현재 theme와 다르다면 recreate()를 통해 화면을 재생성합니다.
그럼 seekbar의 결과에 따라 글자의 크기가 변경됩니다.


Theme의 변경
recreate() 함수를 사용하기에 화면이 재생성되면서 깜박임이 발생합니다.
LG 단말은 거의 모를 만한 수준인데 삼성 단말은 심하게 깜박이네요.
그렇다면 그냥 Seekbar의 listener에 바로 Textview의 textsize를 변경하도록 해도 결과는 똑같습니다.
오히려 깜박임도 없고, 재생성이 없기 때문에 훨씬 더 가볍습니다.
Theme를 변경하기 위해 recreate() 호출 시 onCreate()부터 타기 때문에 무거운 화면이라면 부담스러운 작업입니다.
하지만 seekbar에 정의된 값으로 다른 화면의 TextView의 textsize에도 영향을 줘야 한다면 다른 화면에서는 추가적인 작업 없이 xml에 ?attr/xxx로 정의해 놓은 값을 가져다 쓰면 theme의 변경에 따라 여러 화면들의 TextView에도 동일한 효과를 줄 수 있습니다.
이 예제에서는 단순히 text를 바꾸는 작업이지만, 쉬운 예제로 text의 color를 바꾼다거나, 다음 포스팅에서 알아볼 TextView widget의 theme를 재 정의한다거나 하는 작업들로 화면의 크기, 색상, 배열등을 완전히 바꿀 수 있습니다.
말 그대로 여러 component들이 재정의 되는 작업을 수반하기 때문에 깜박임을 피하기 어렵습니다.
BaseActivity의 사용
만약 seekbar는 setting 화면에 존재하고, 여기서 바뀐 값이 여러 화면들에서 사용되어야 한다면 각 activity마다 onCrate()에서 정의한 코드들을 동일하게 넣어야 합니다.
따라서 BaseAcitvity를 정의해서 각 activity들이 base를 상속받도록 합니다.
또한 화면에 따라 onResume() 상태부터 진입할 수도 있으니 onResume()도 적용 코드를 넣어주도록 합니다.
class BaseActivity : AppCompatActivity() {
    companion object {
        private const val TAG = "MainActivity"
    }

    private lateinit var viewBinding: ActivityMainBinding
    private var currentTheme = R.style.Theme_App_Medium
    private lateinit var pref: DefaultPreferenceManager


    override fun onCreate(savedInstanceState: Bundle?) {
        super.onCreate(savedInstanceState)
        pref = DefaultPreferenceManager(this)

        val textSize = pref.getTextSize()
        currentTheme = getAppTheme(textSize)
        setTheme(currentTheme)

        viewBinding = ActivityMainBinding.inflate(layoutInflater)
        setContentView(viewBinding.root)

        initView()
    }

    override fun onResume() {
        super.onResume()

        val textSize = pref.getTextSize()
        val settingTheme = getAppTheme(textSize)

        if (currentTheme != settingTheme) {
            recreate()
        }
    }

    private fun getAppTheme(textSize: Int) =
           when (textSize) {
               0 -> R.style.Theme_App_Small
               1 -> R.style.Theme_App_Medium
               2 -> R.style.Theme_App_Large
               else -> R.style.Theme_App_Medium
           }
}
'개발이야기 > Android' 카테고리의 다른 글
| [App bundle] 생성과 설치(bundle tool의 사용) #2 (0) | 2021.01.15 |
|---|---|
| [App bundle] 개념과 필요성 #1 (0) | 2021.01.15 |
| [Android, MVVM, Coroutine] 활용 #3 - ViewModel, LiveData의 Coroutine (0) | 2020.08.05 |
| [Android, MVVM, Coroutine] 활용 #2 - Room에서 Coroutine 사용 (3) | 2020.08.05 |
| [Android, MVVM, Coroutine] 활용 #1 - Android에서 Coroutine 사용 (4) | 2020.08.04 |
